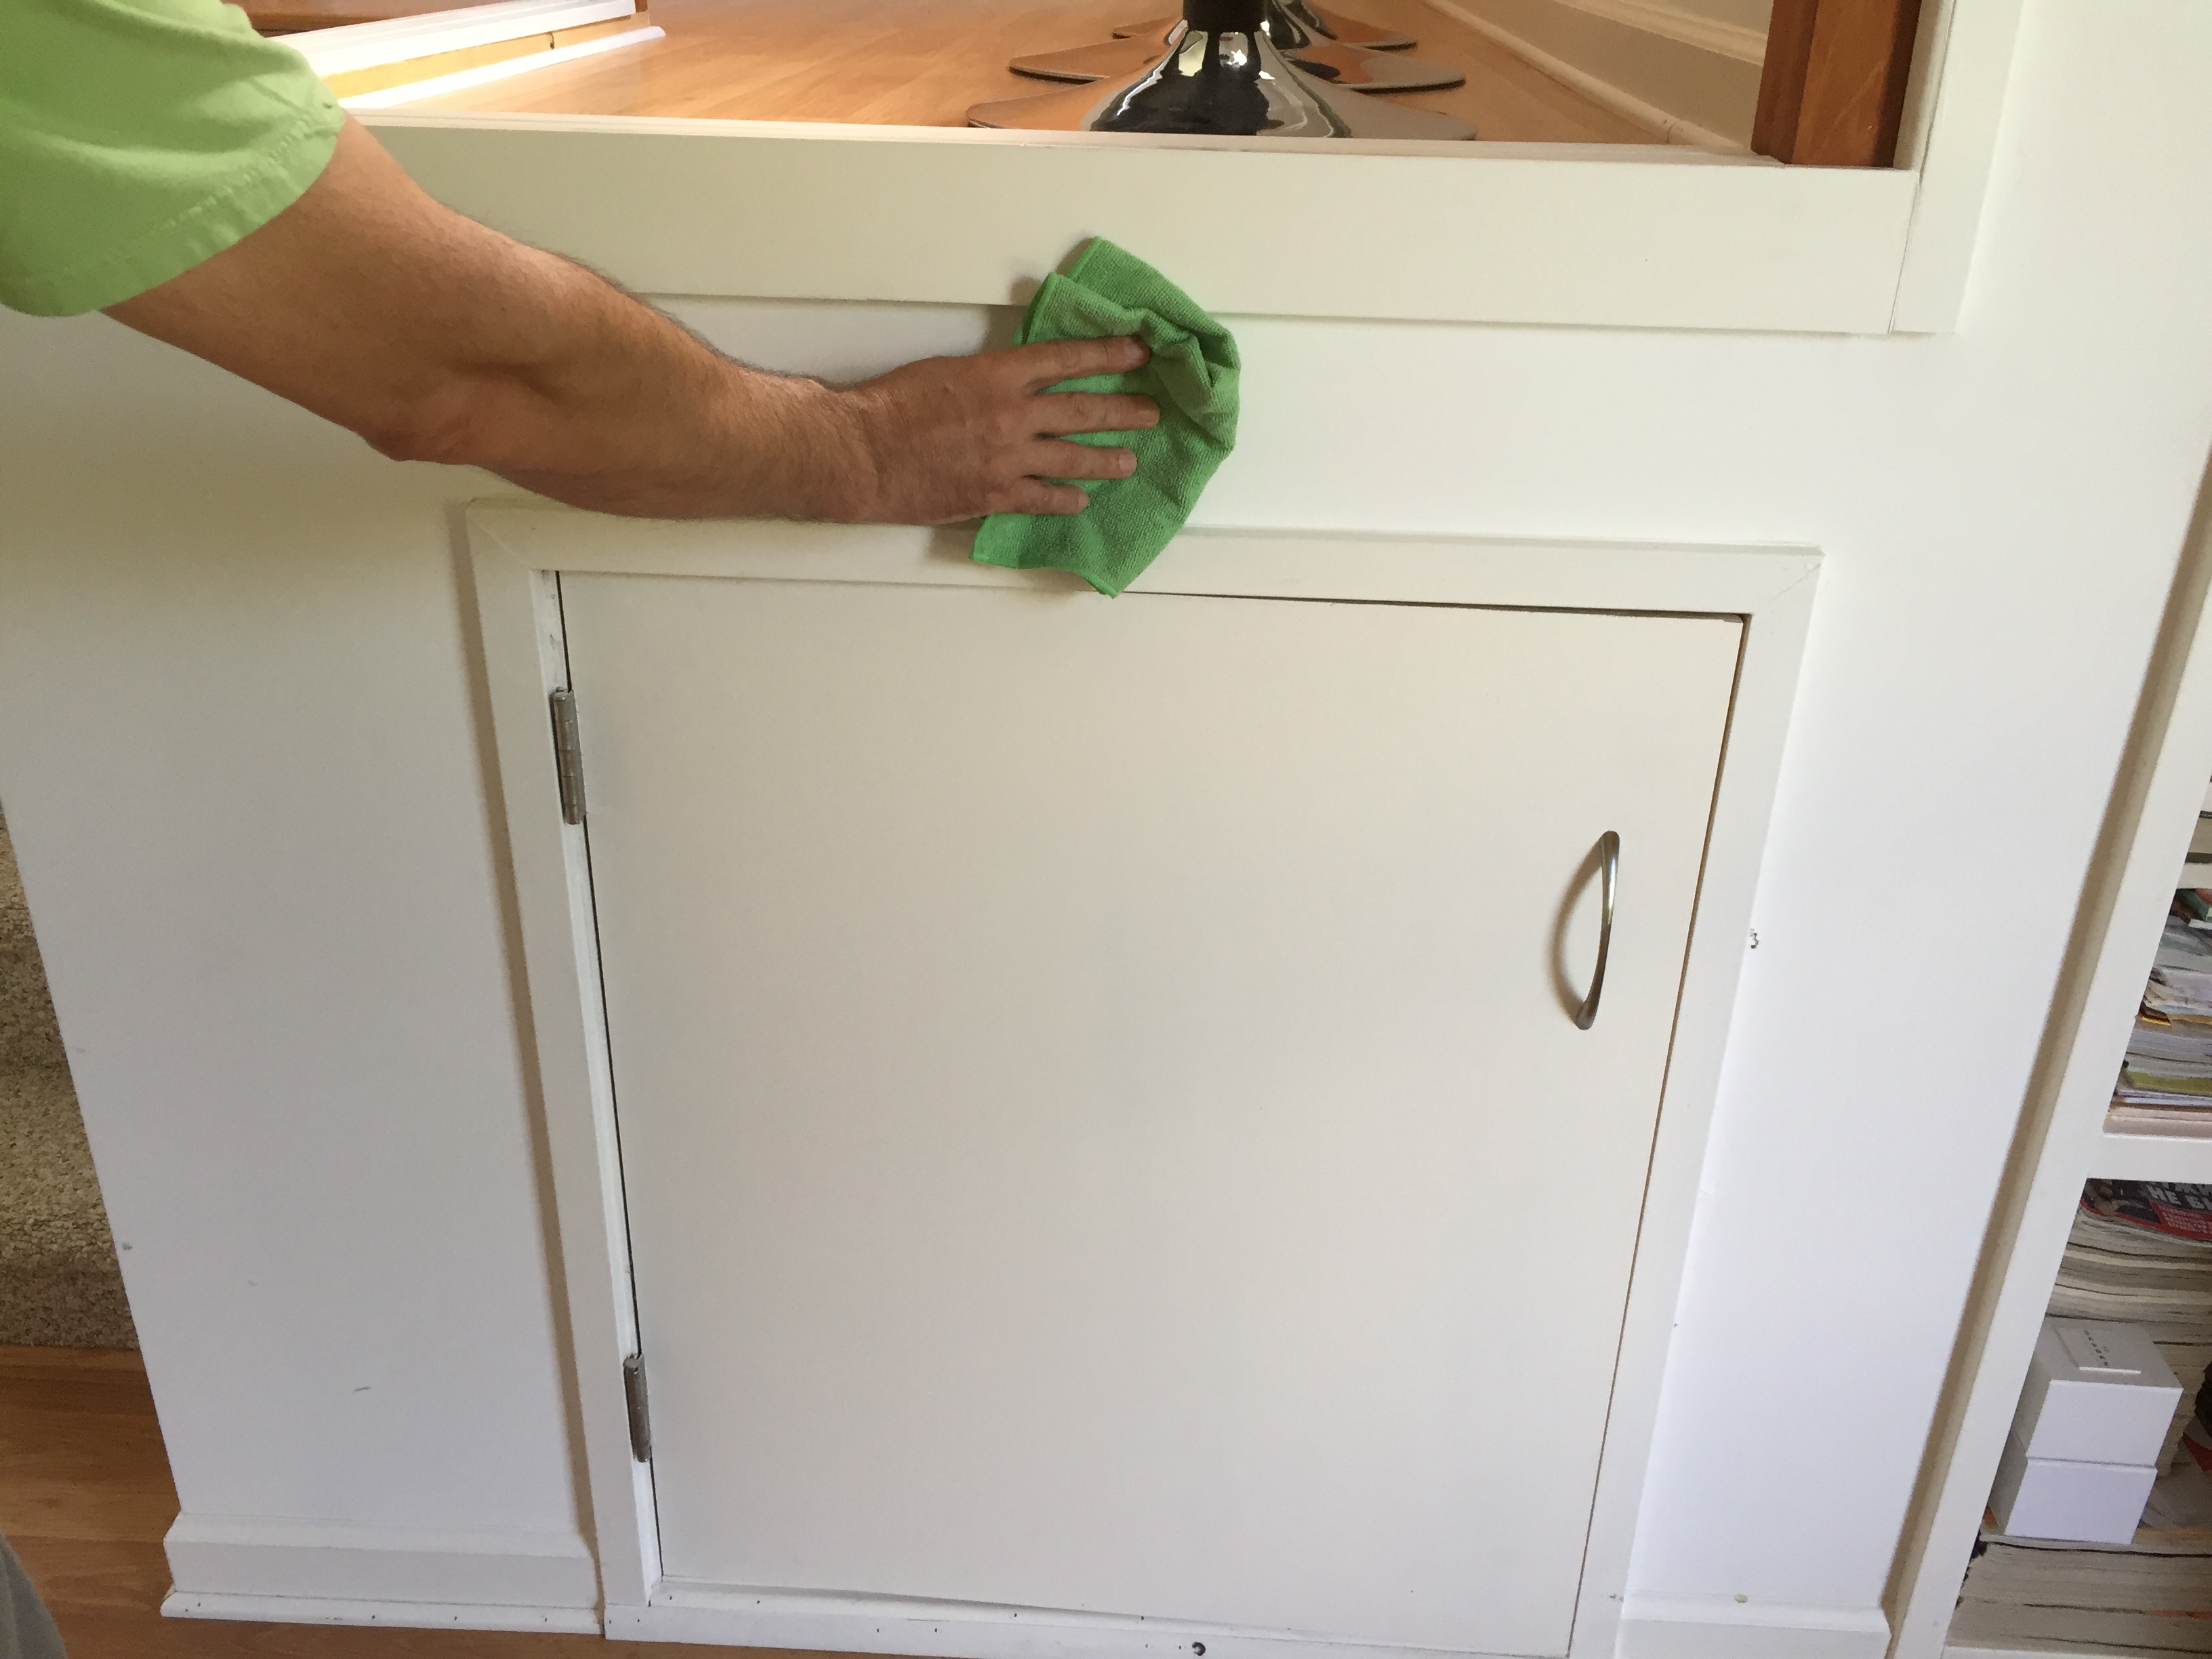
Step 1. Have your tools ready . All you need is level, glue, measuring tape, pencil, scissors and painter tape. Clean up the wall surface. Make sure it is free of dust and dry. Remove all the wall plates and outlet covers.

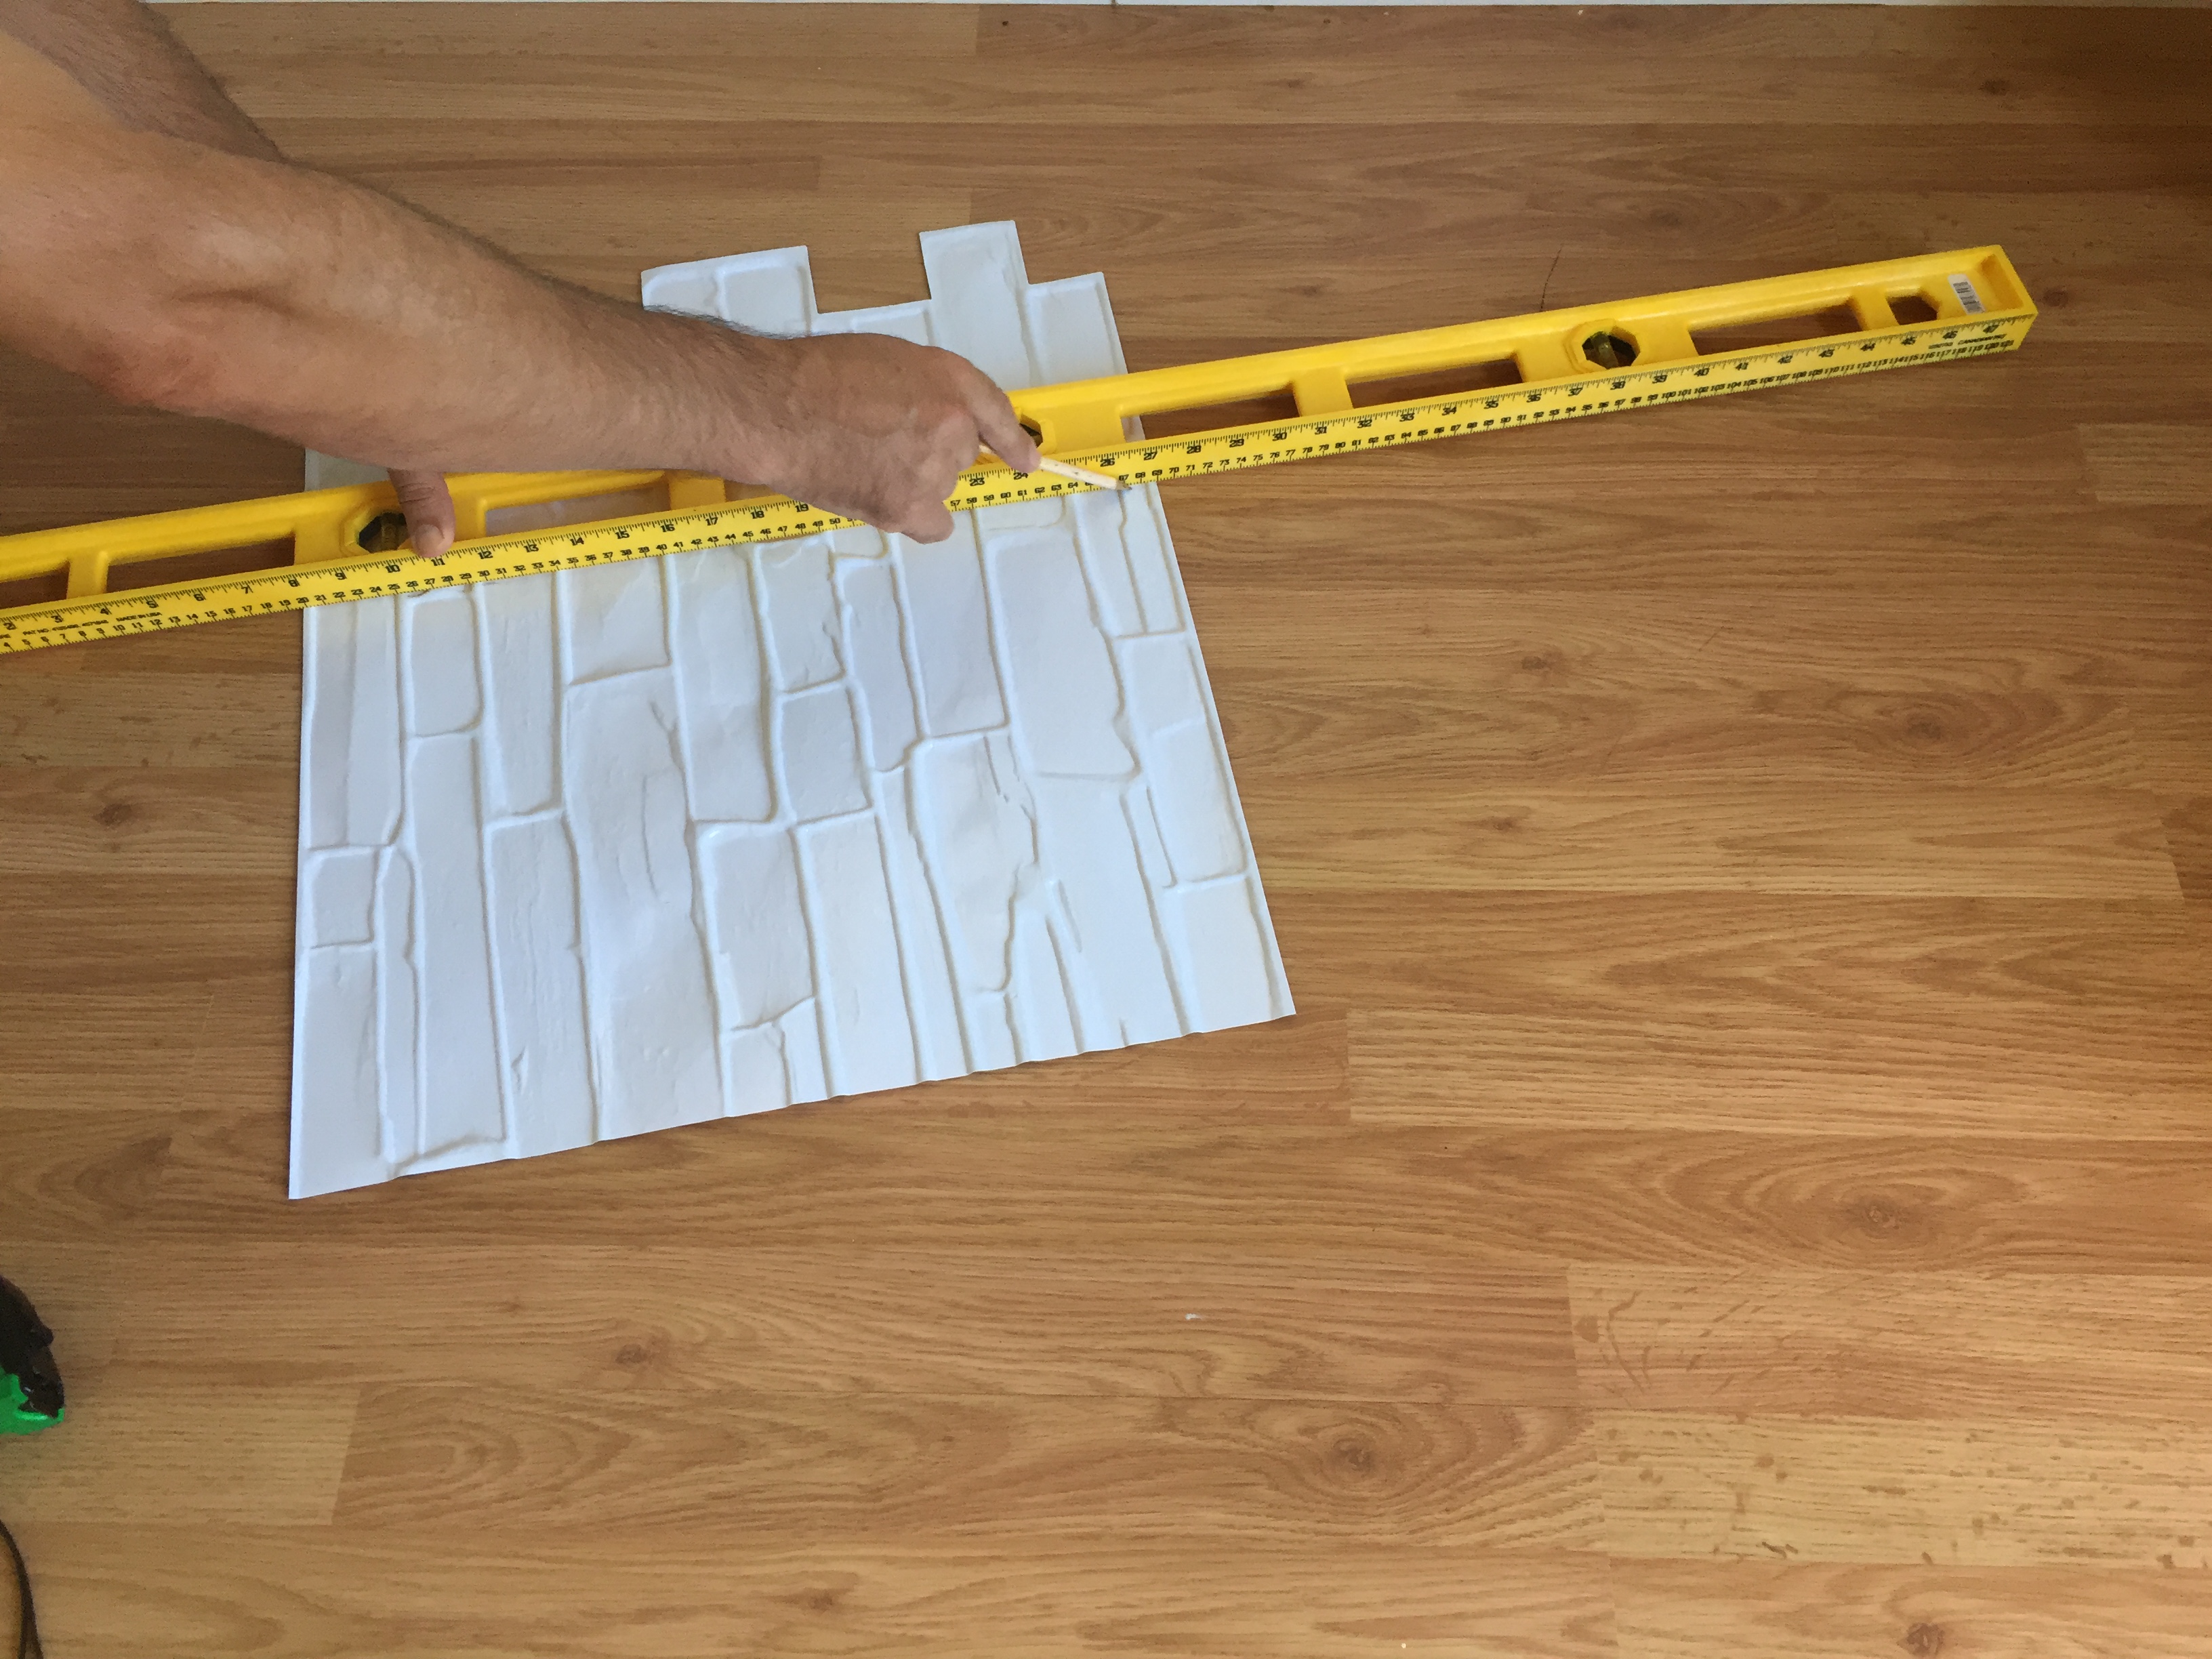
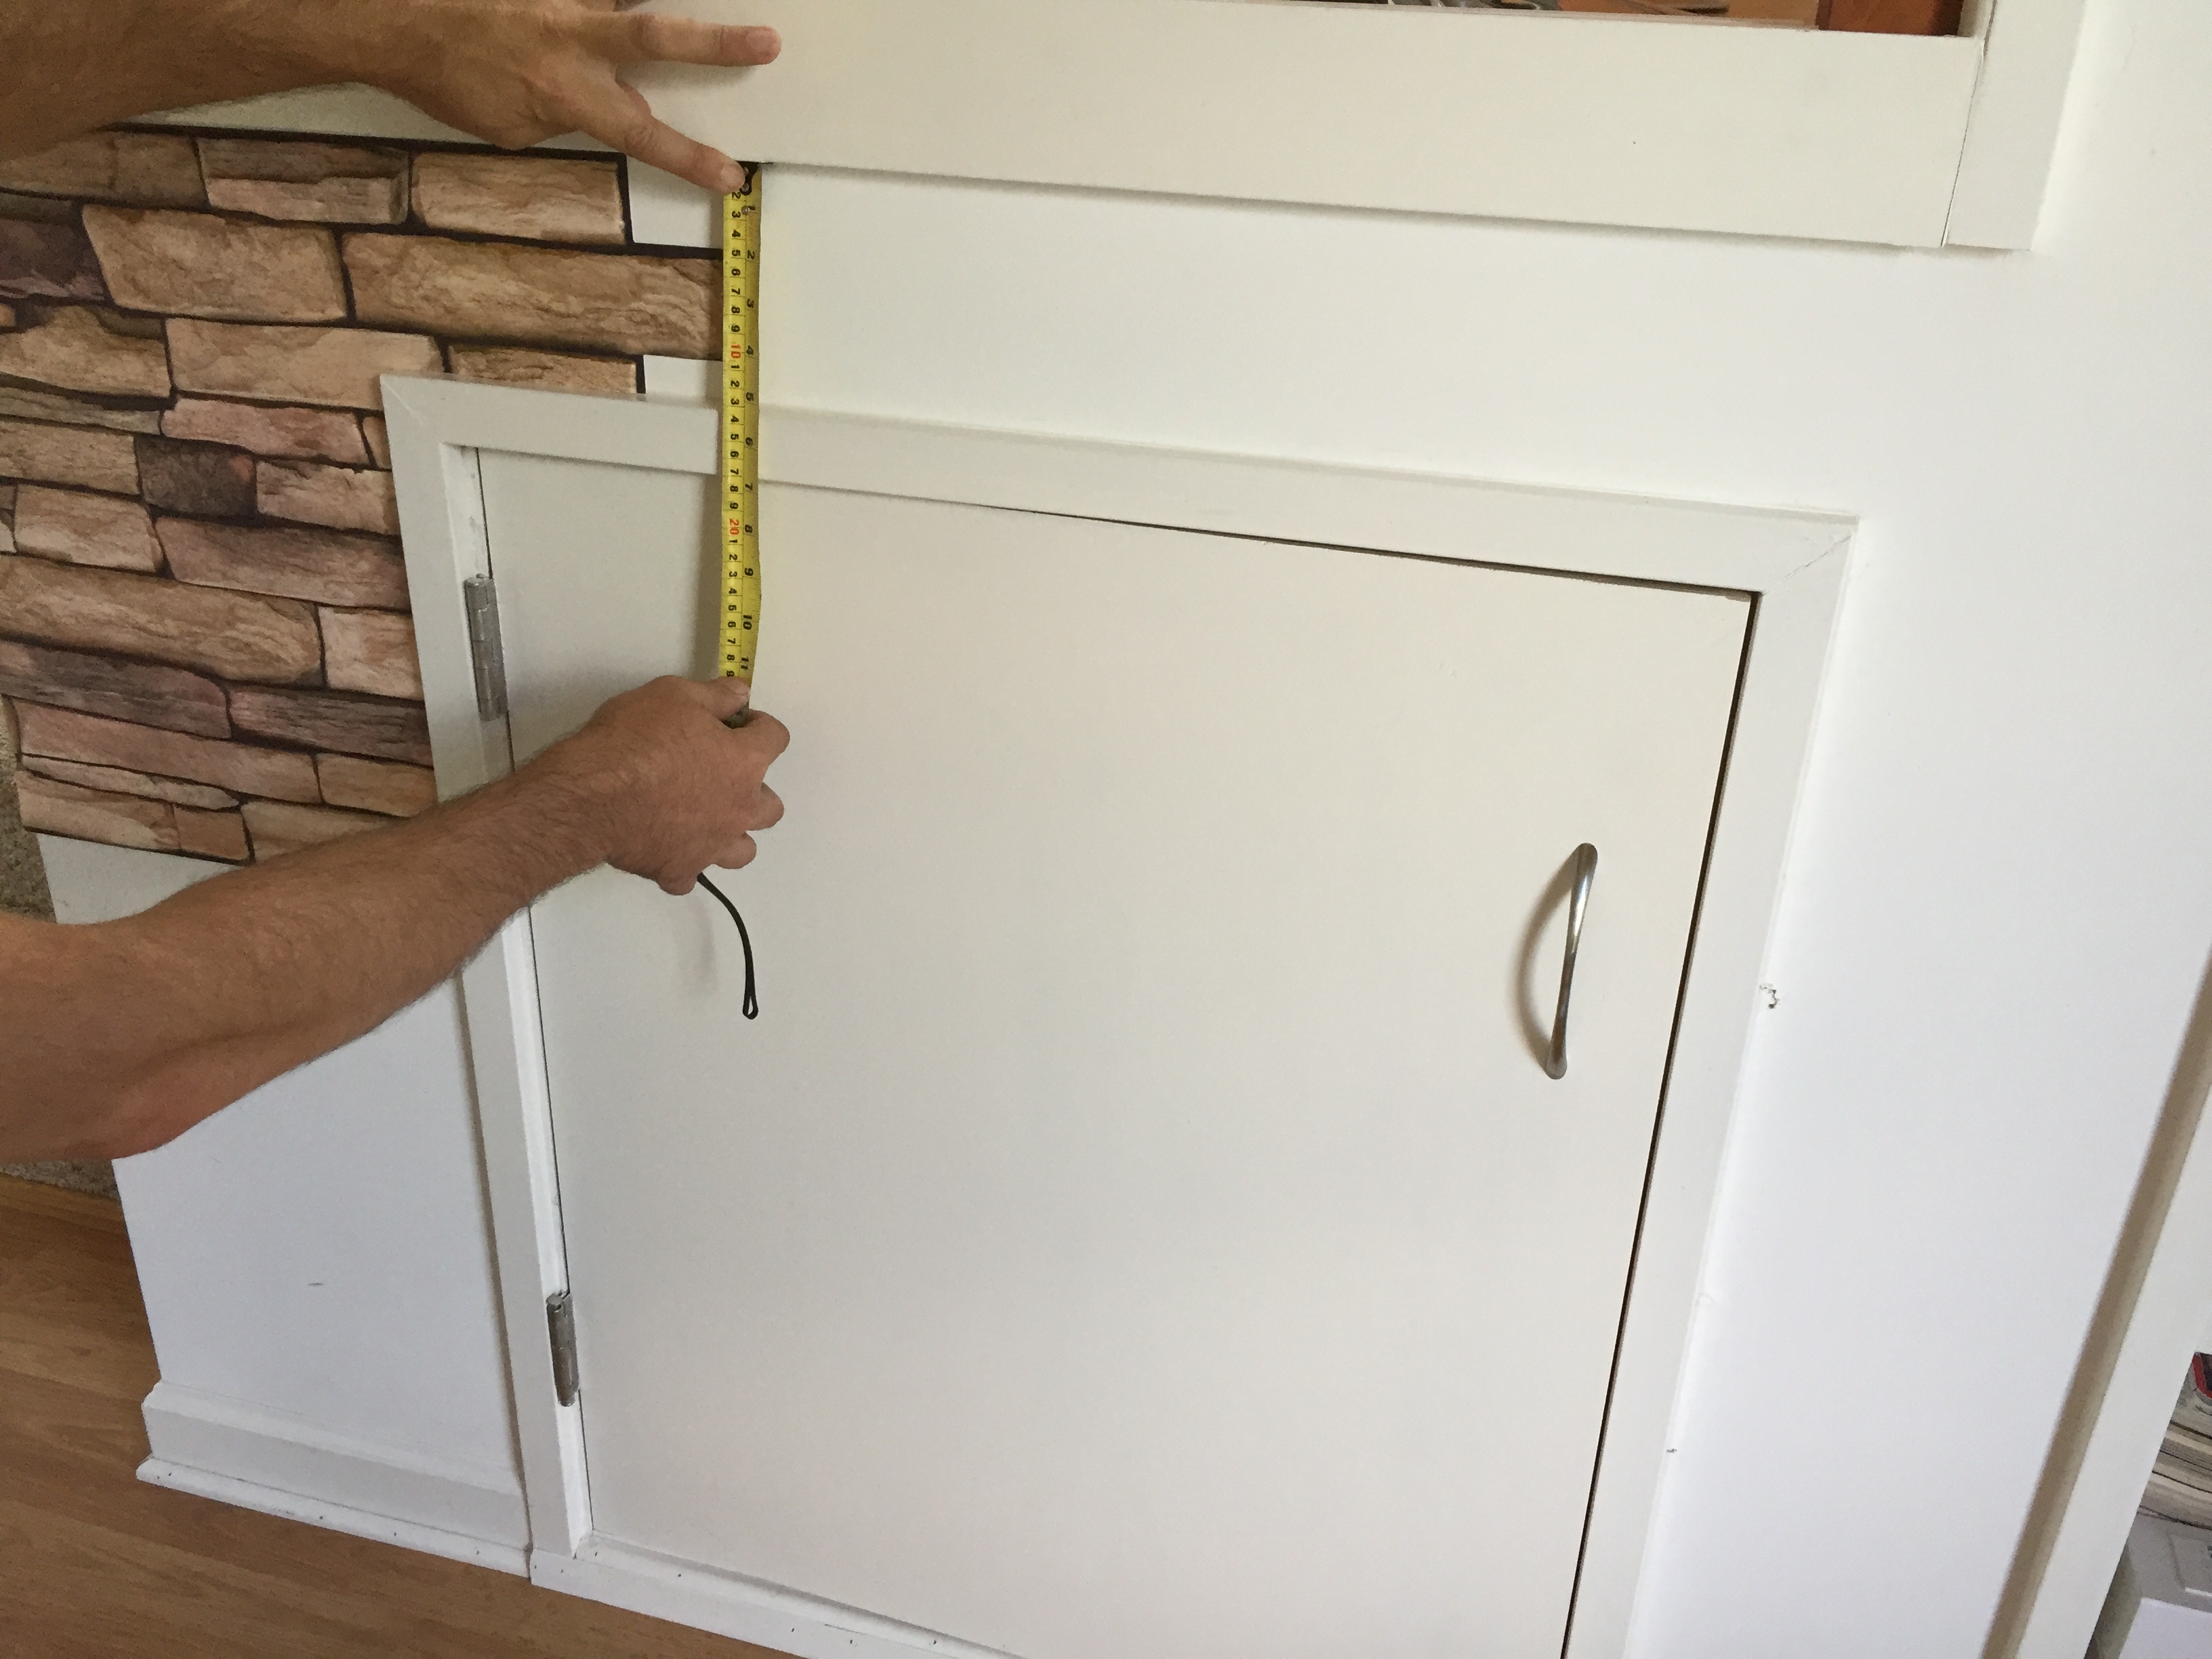
Step 2. Check position of the first panel and cut it to size. If using panels with interlocking pattern, mark and cut starting panel straight with scissors.
(use level and mark horizontal line with pencil if needed).


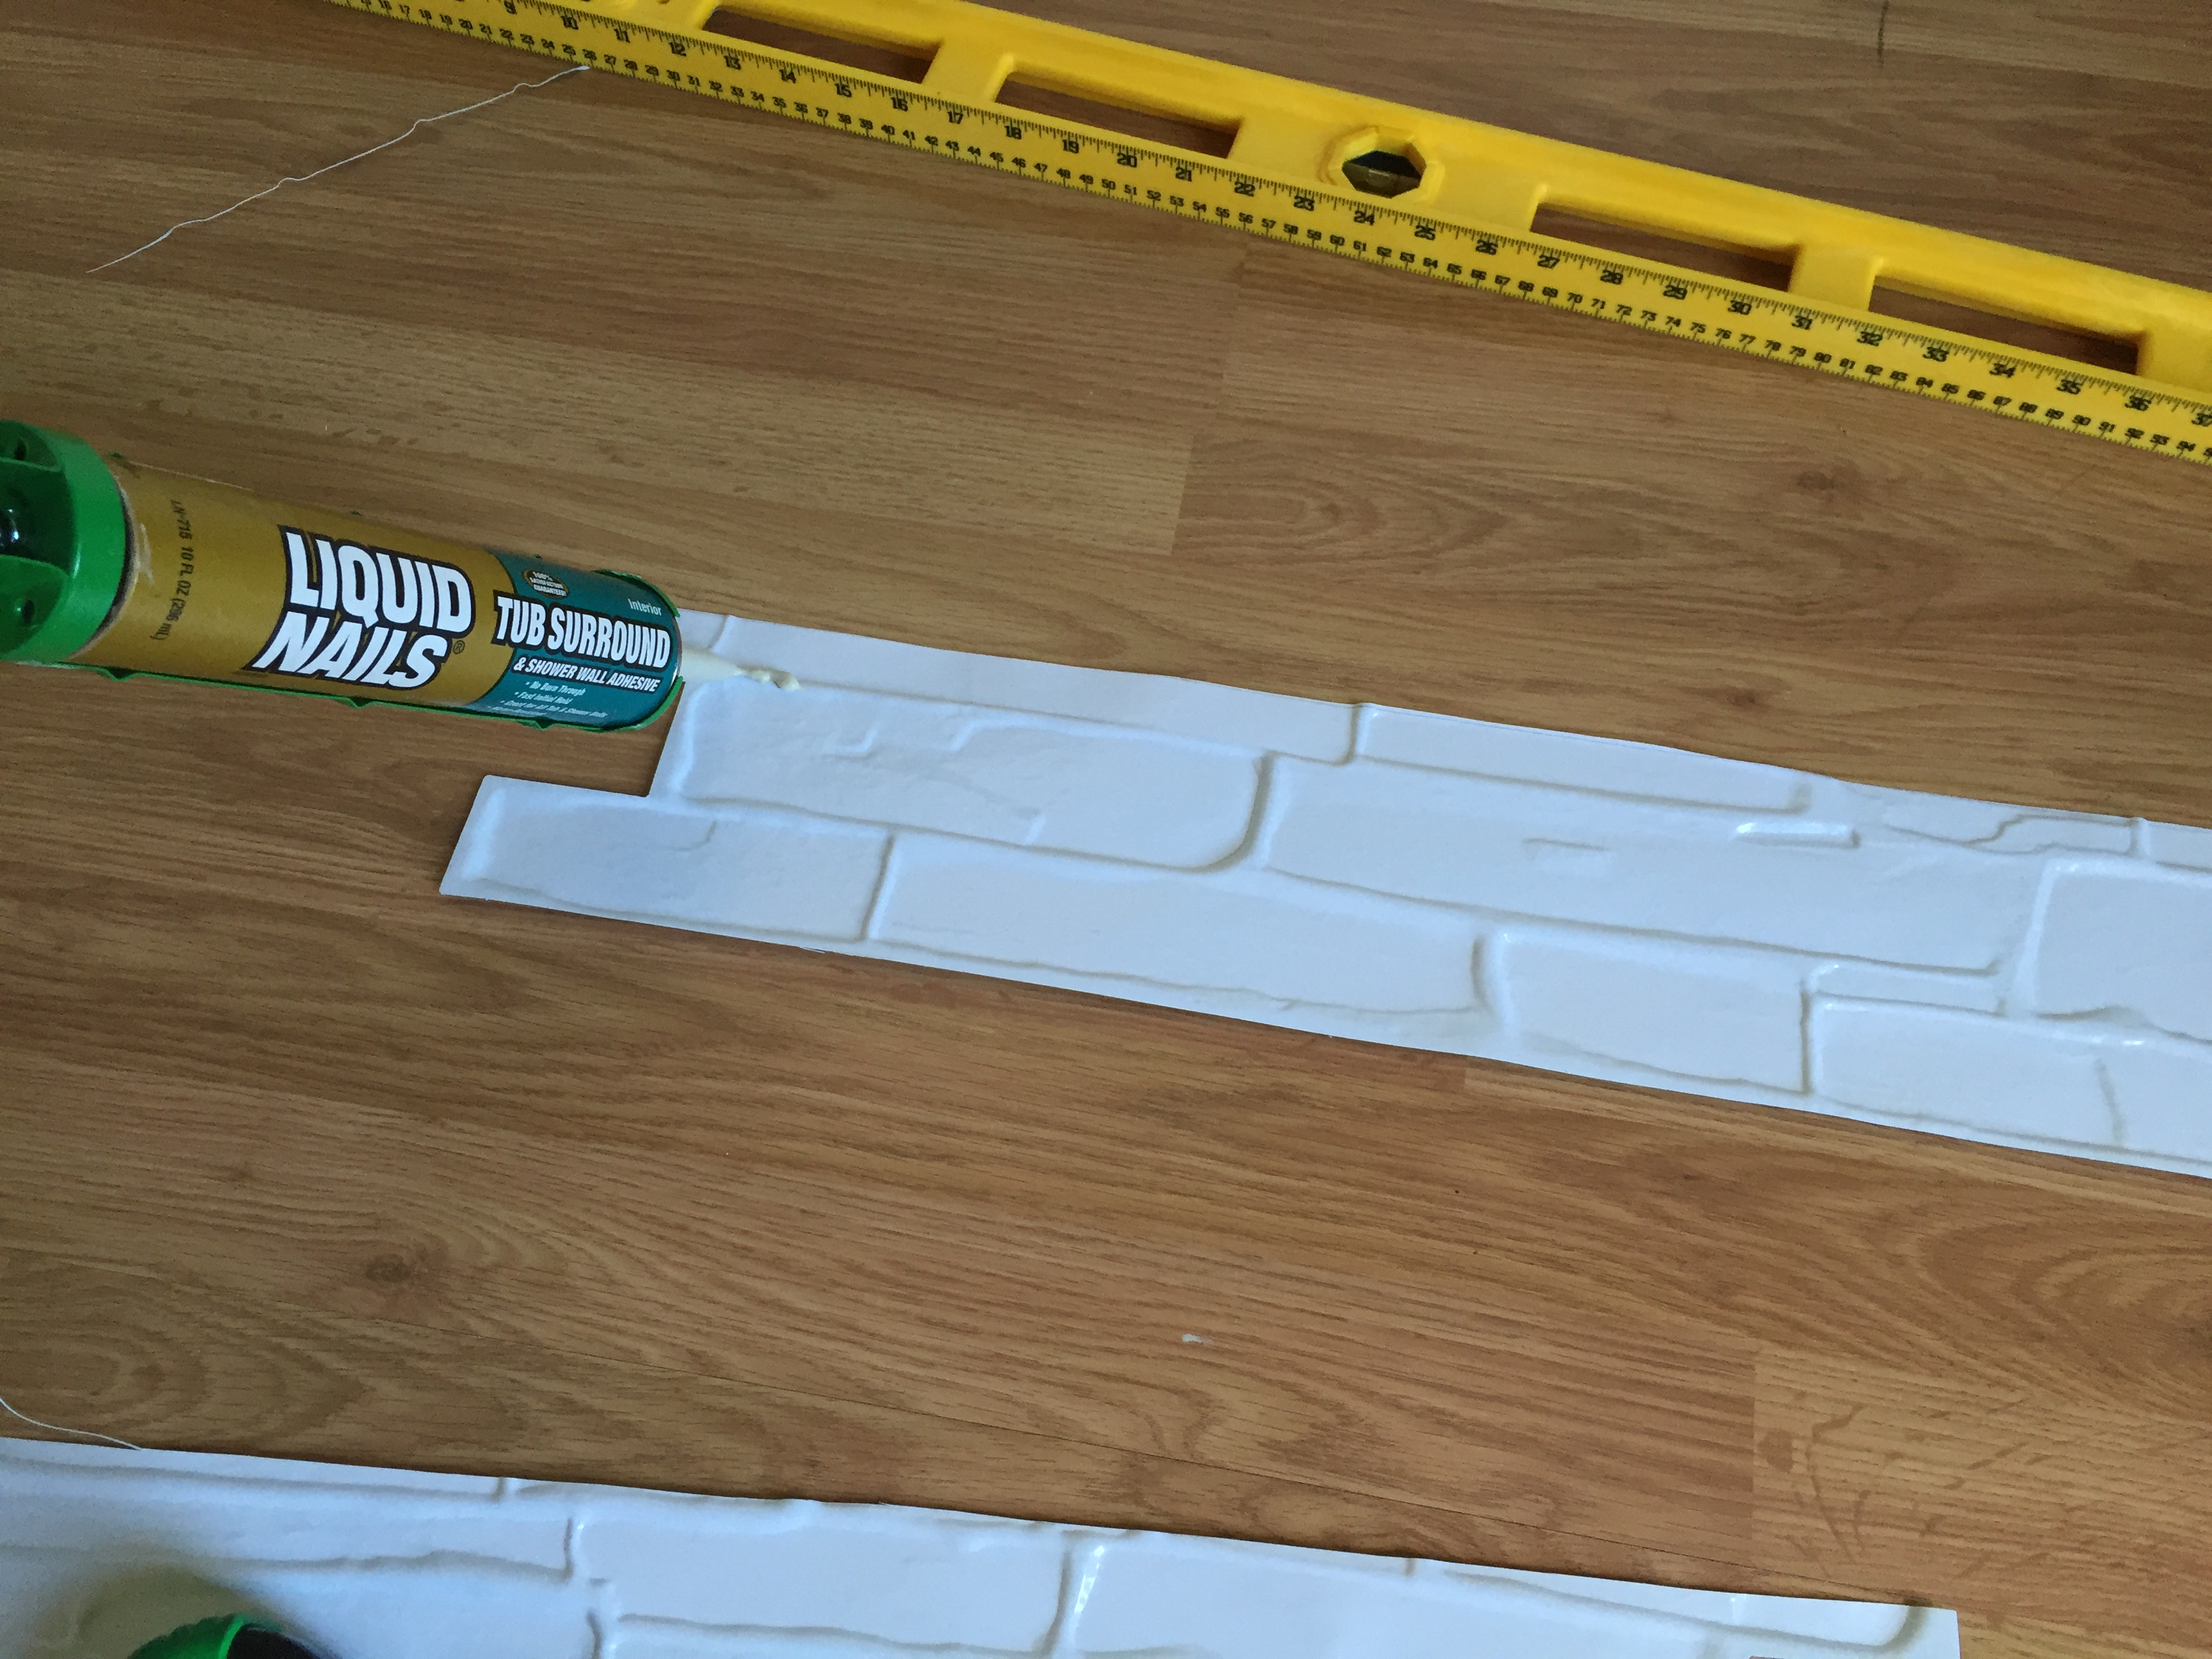
Step 3. Apply glue to the inner side of the panel (try to cover raised greed on the panel which will contact wall, no need to fill cavities)
Step 3. Apply glue to the inner side of the panel (try to cover raised greed on the panel which will contact wall, no need to fill cavities)

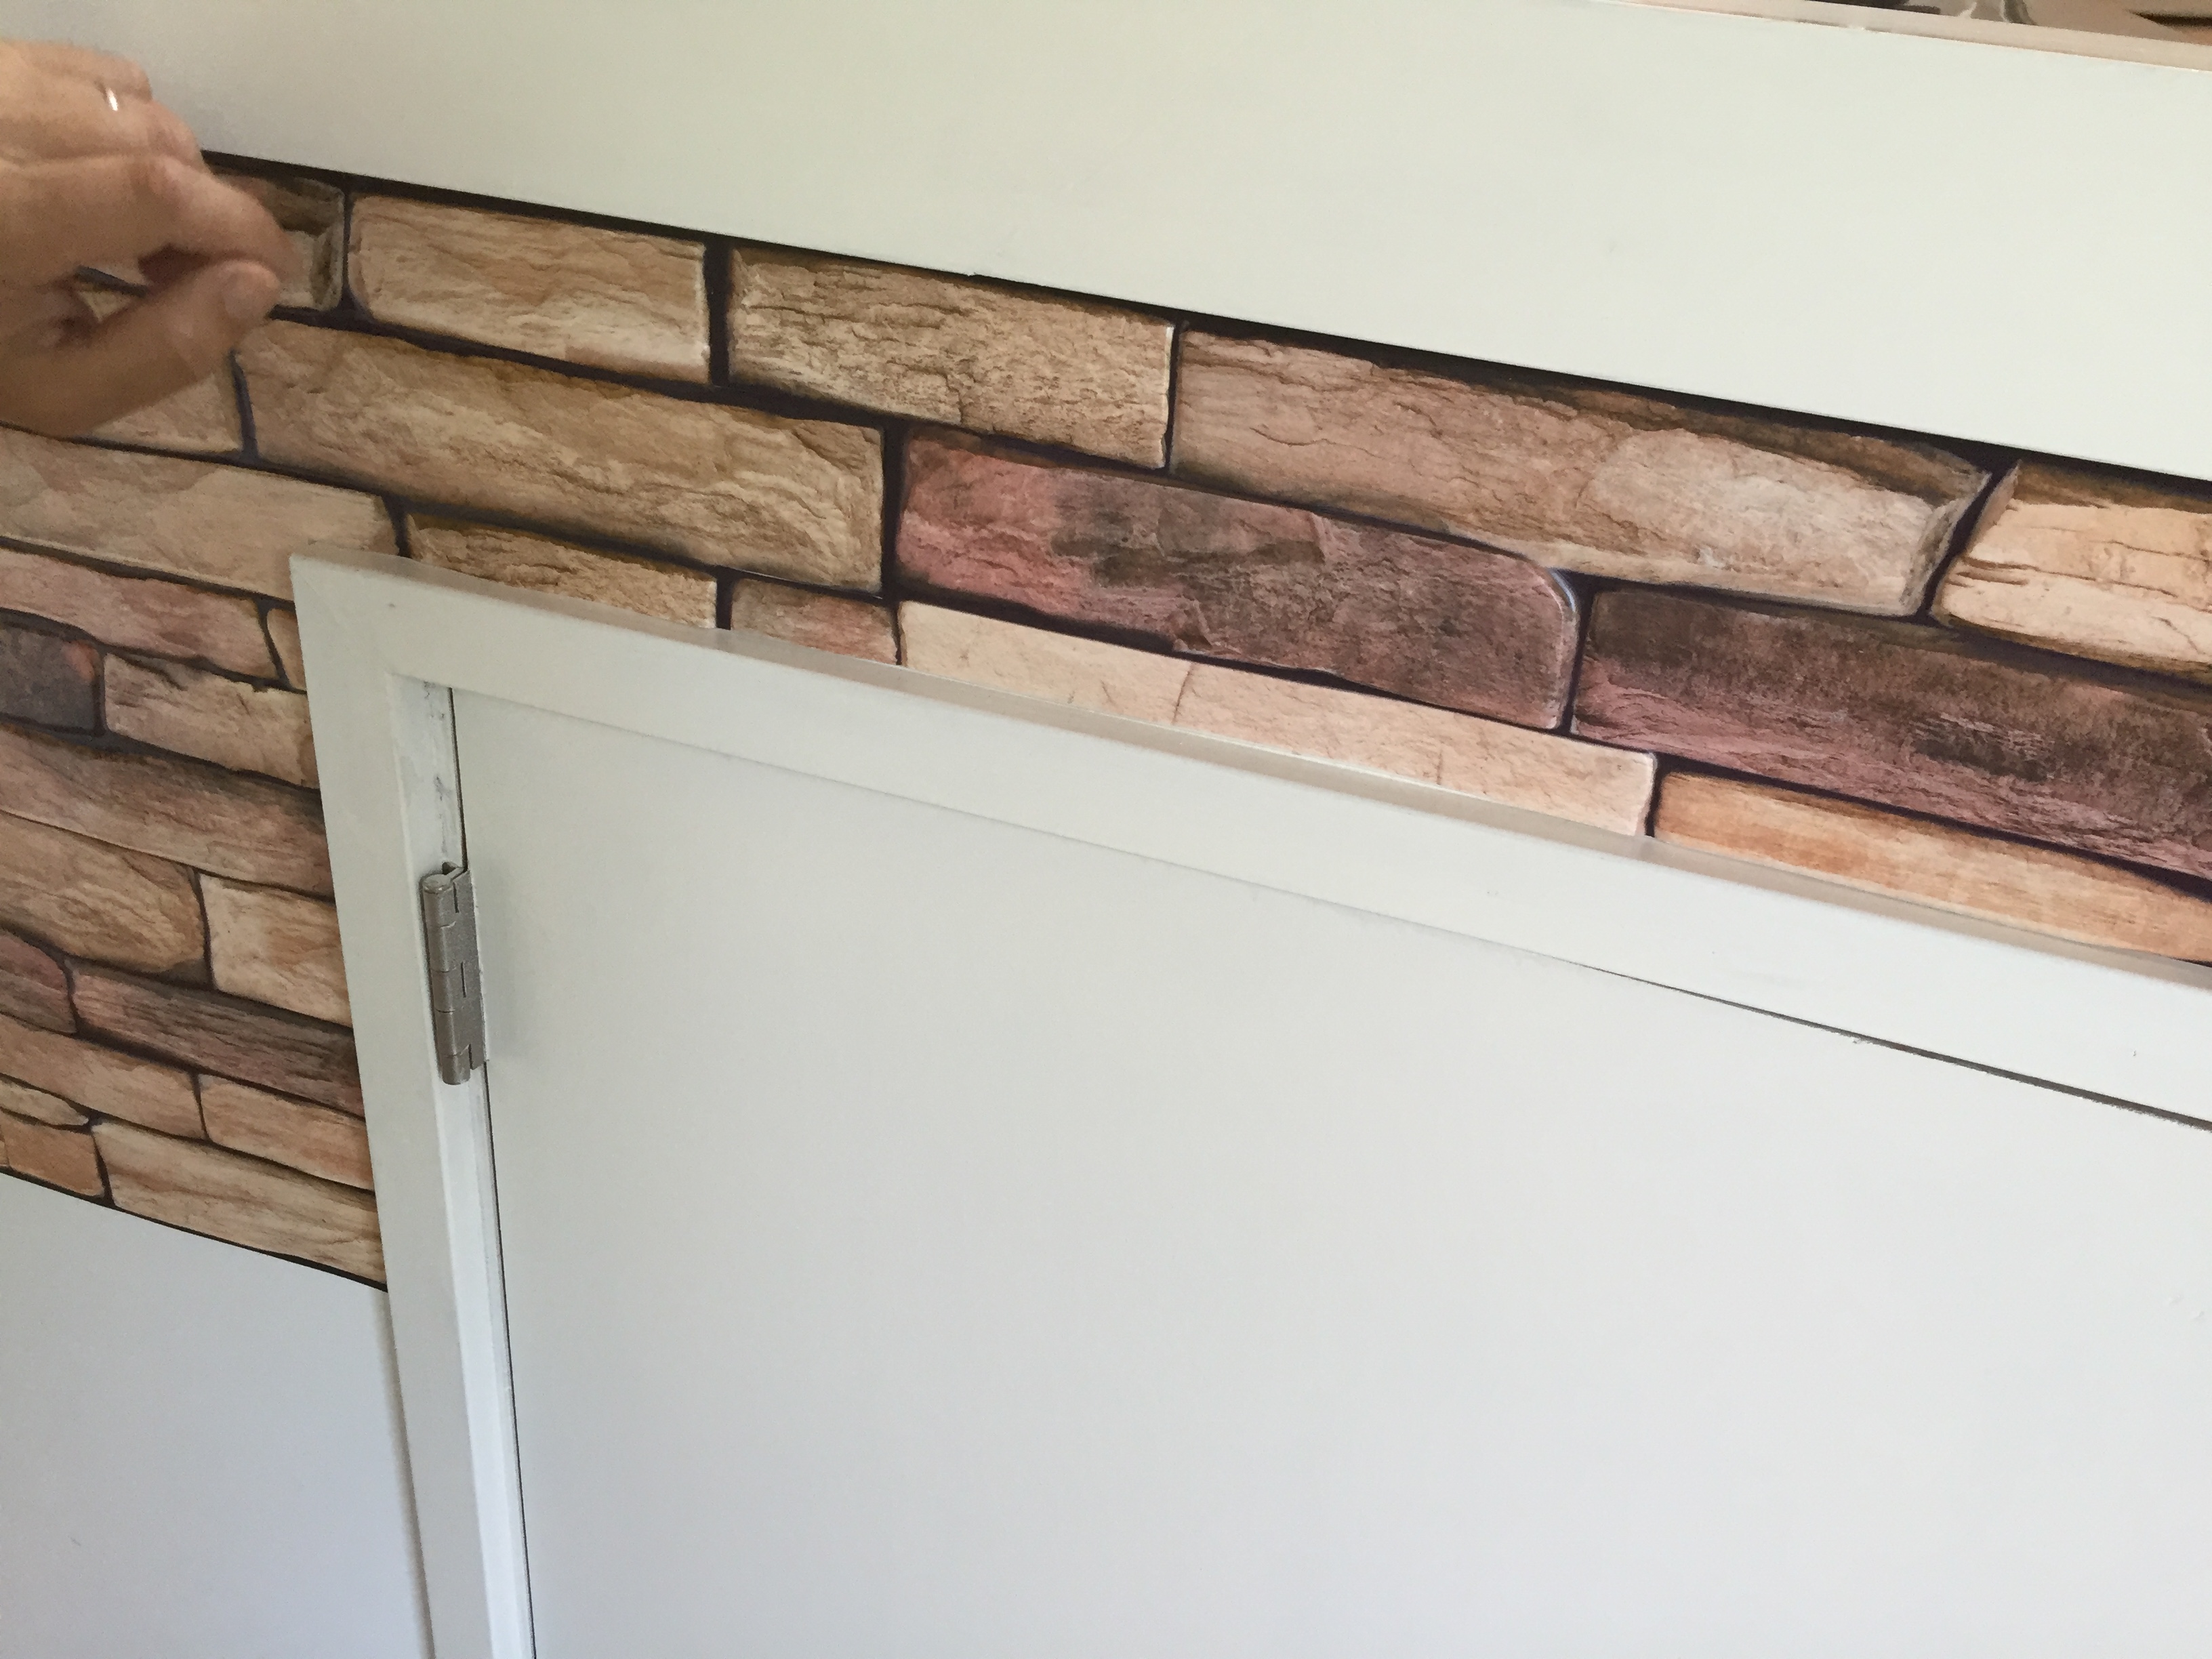
Step 5. Apply panel to the wall, starting from the corner, use any soft fabric to make sure panel is evenly stick to the wall and to wipe any extra glue.
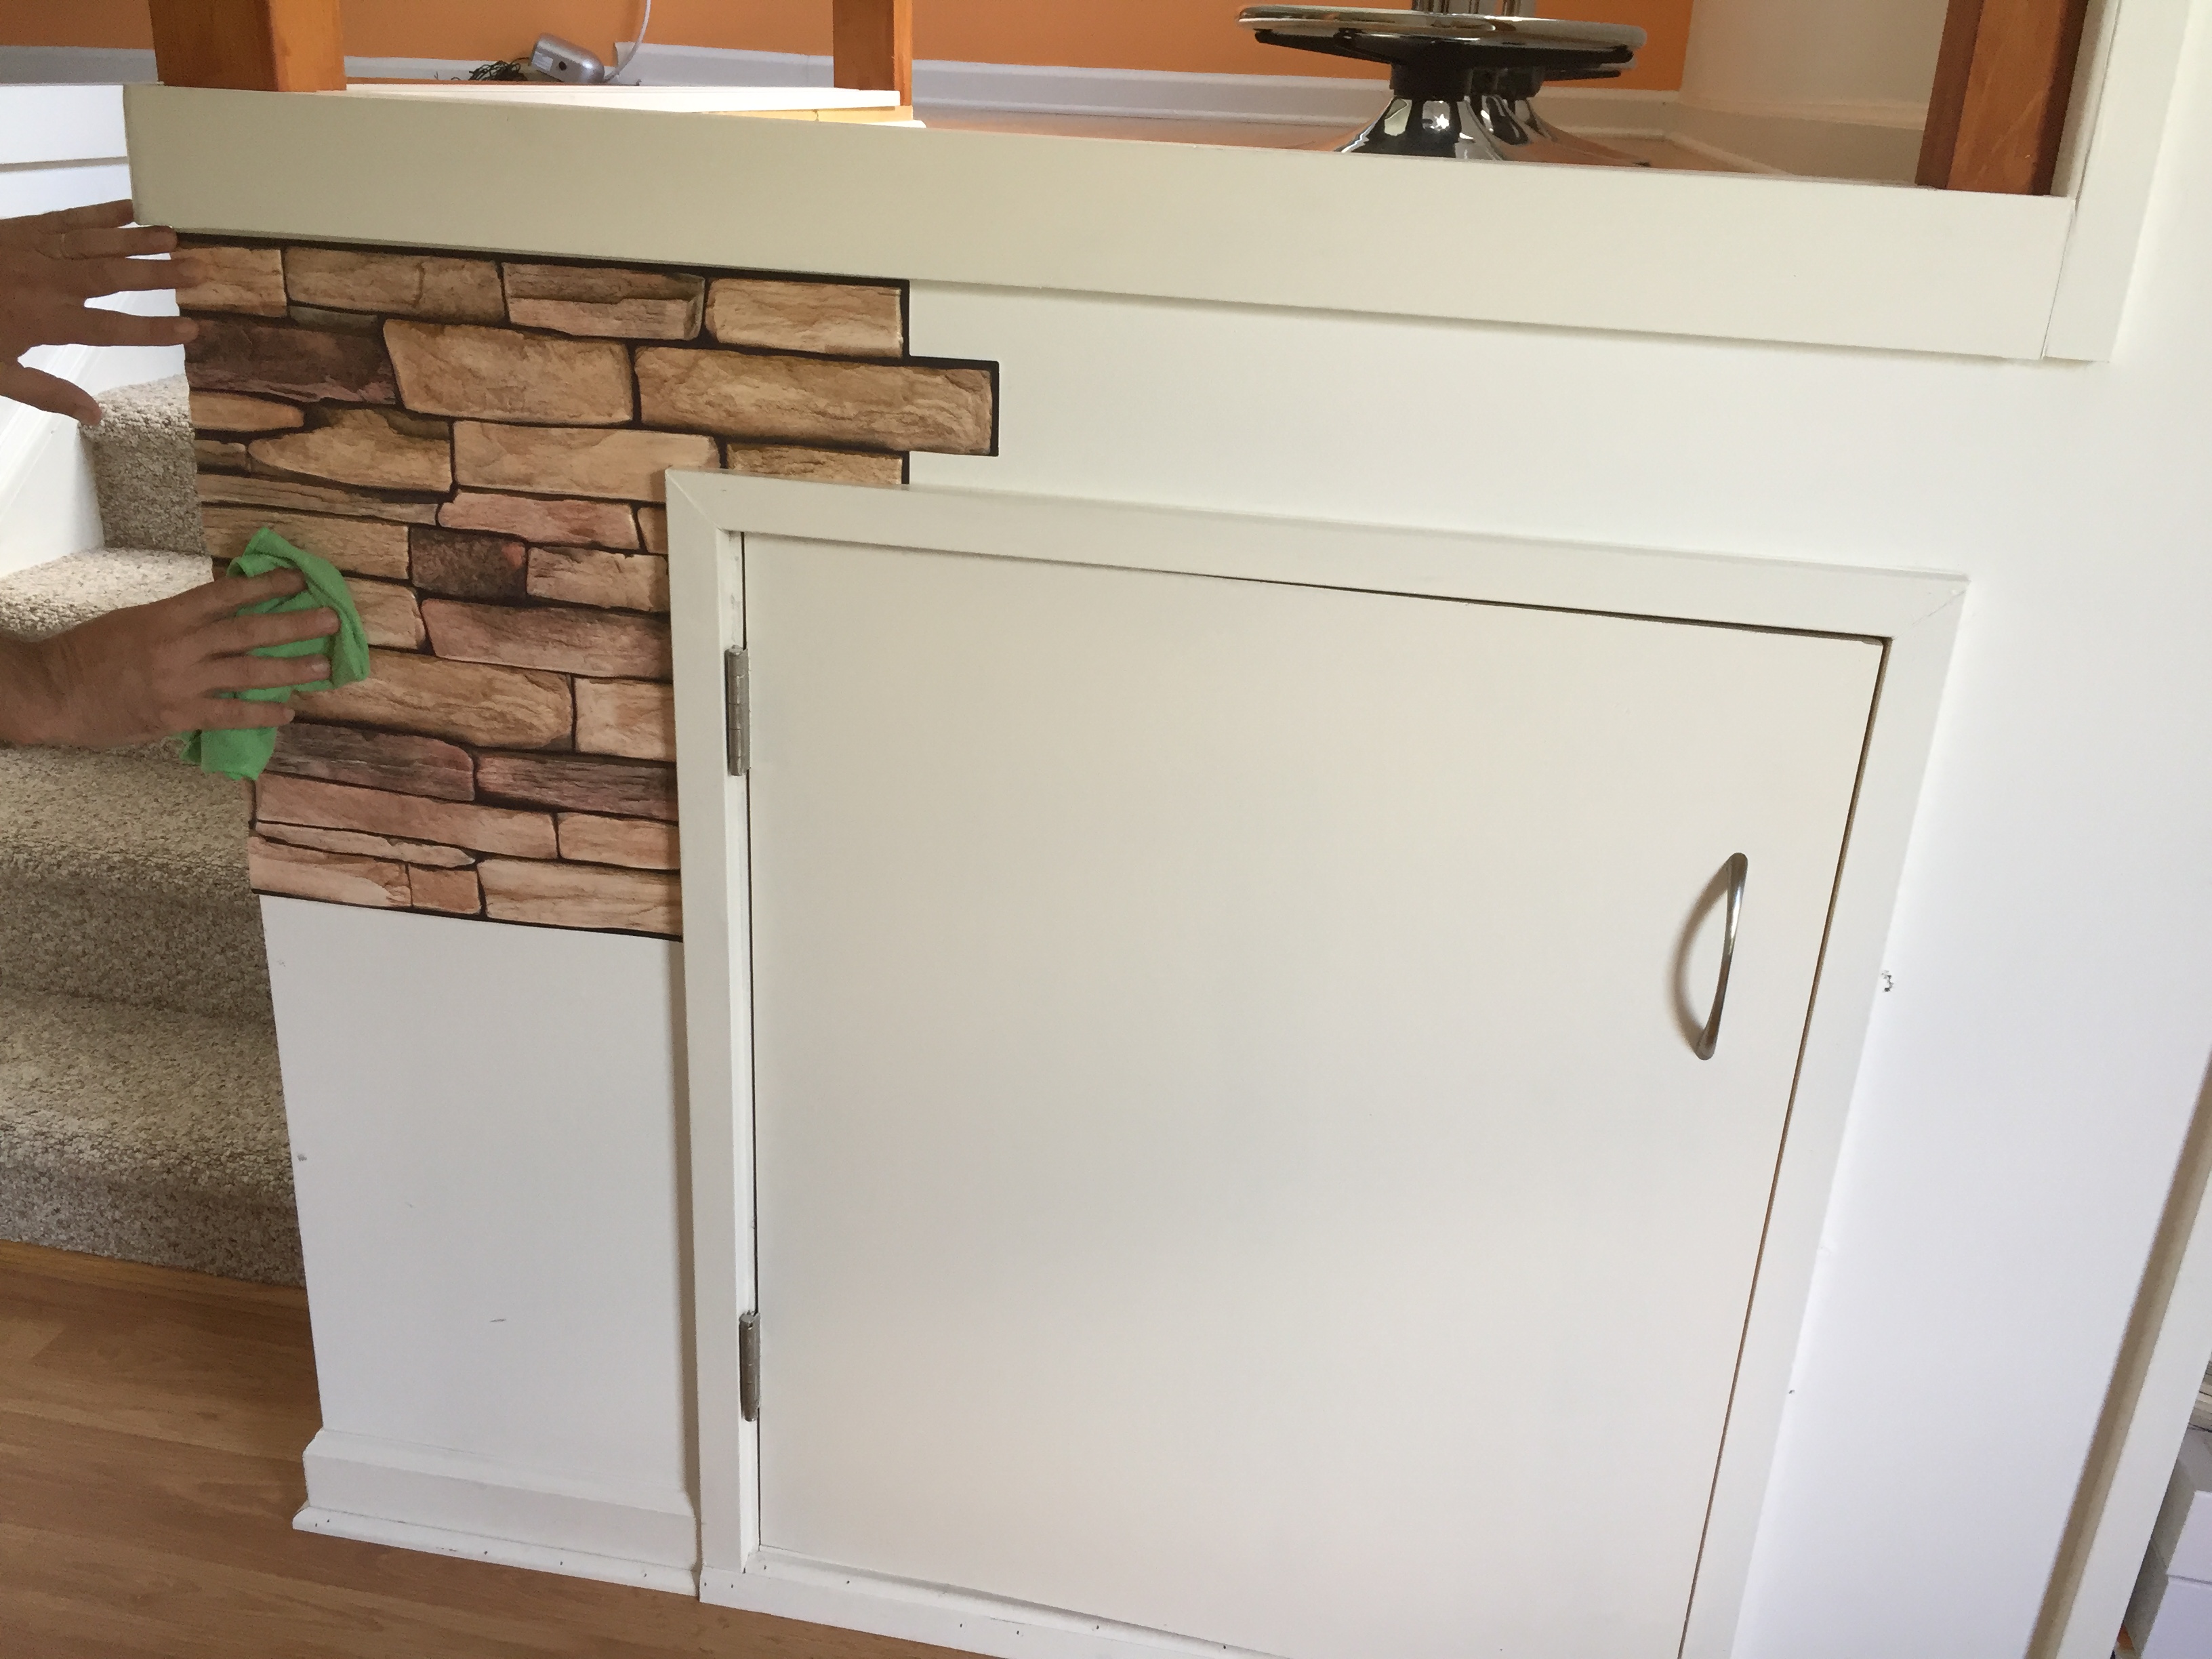
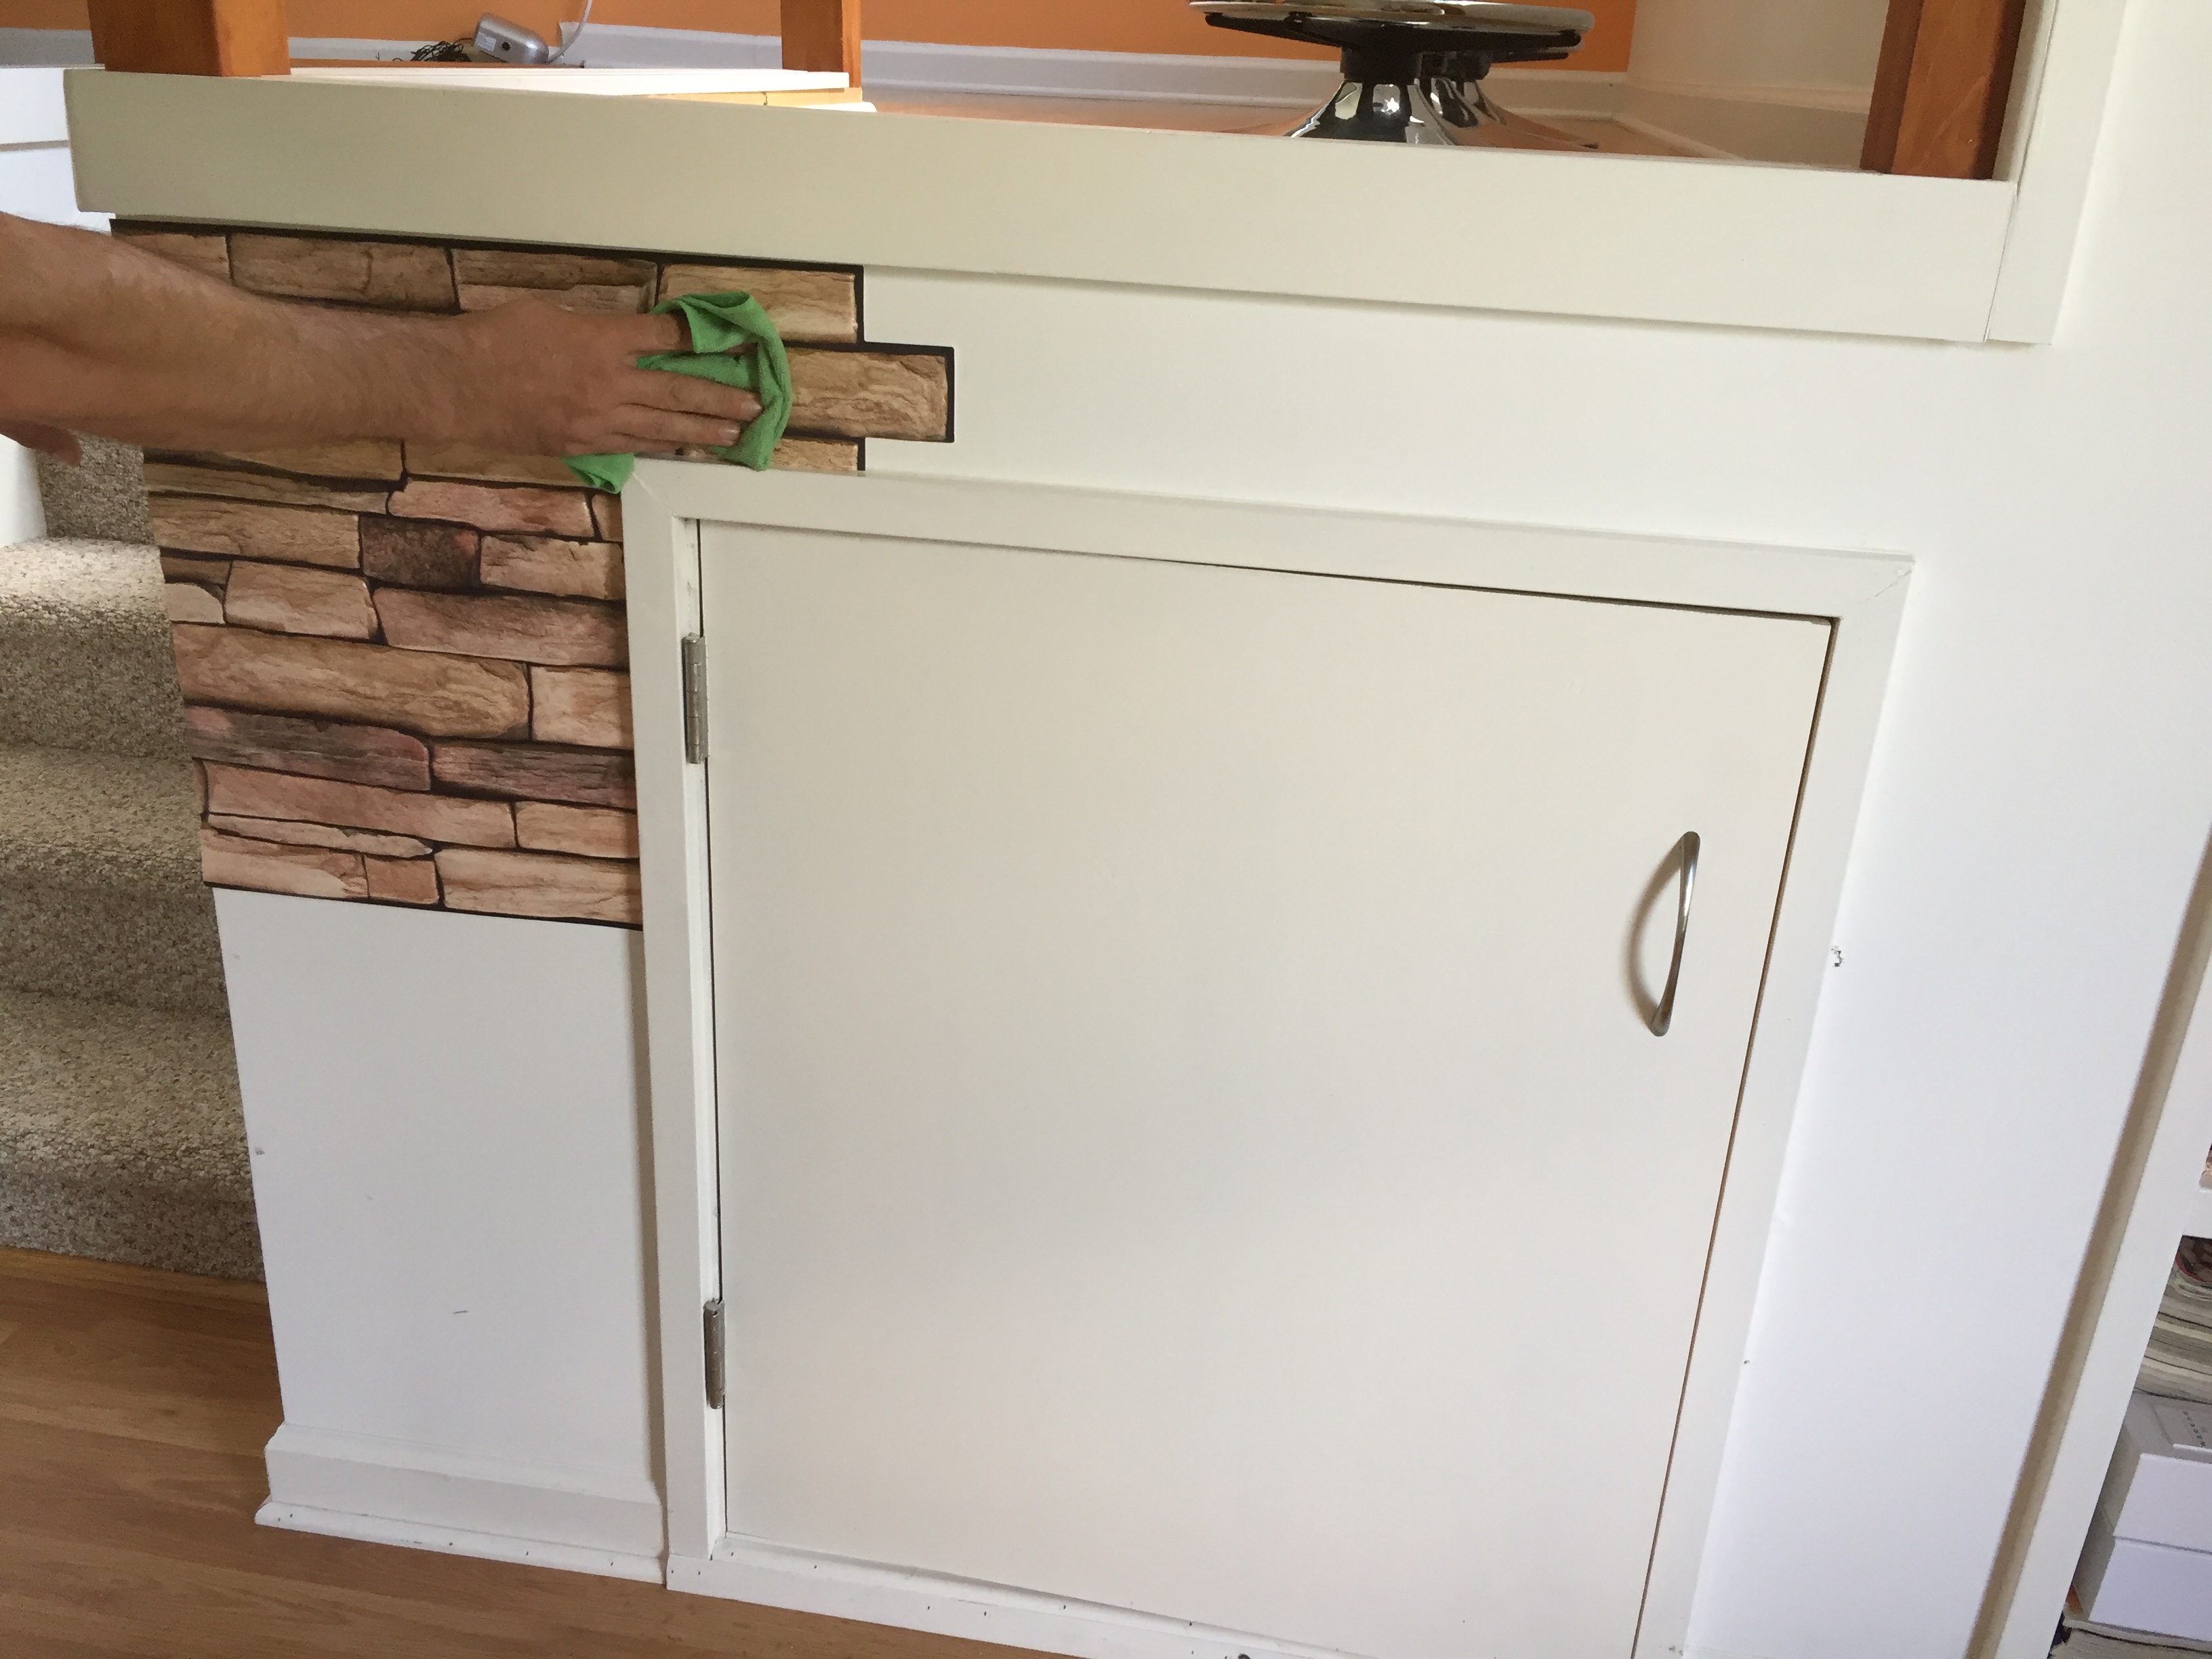
Step 6. Continue applying panels overlapping about 1/8″ on every joint, cut the last one to size using scissors, measure the remaining distance to the other corner
Tips :
-
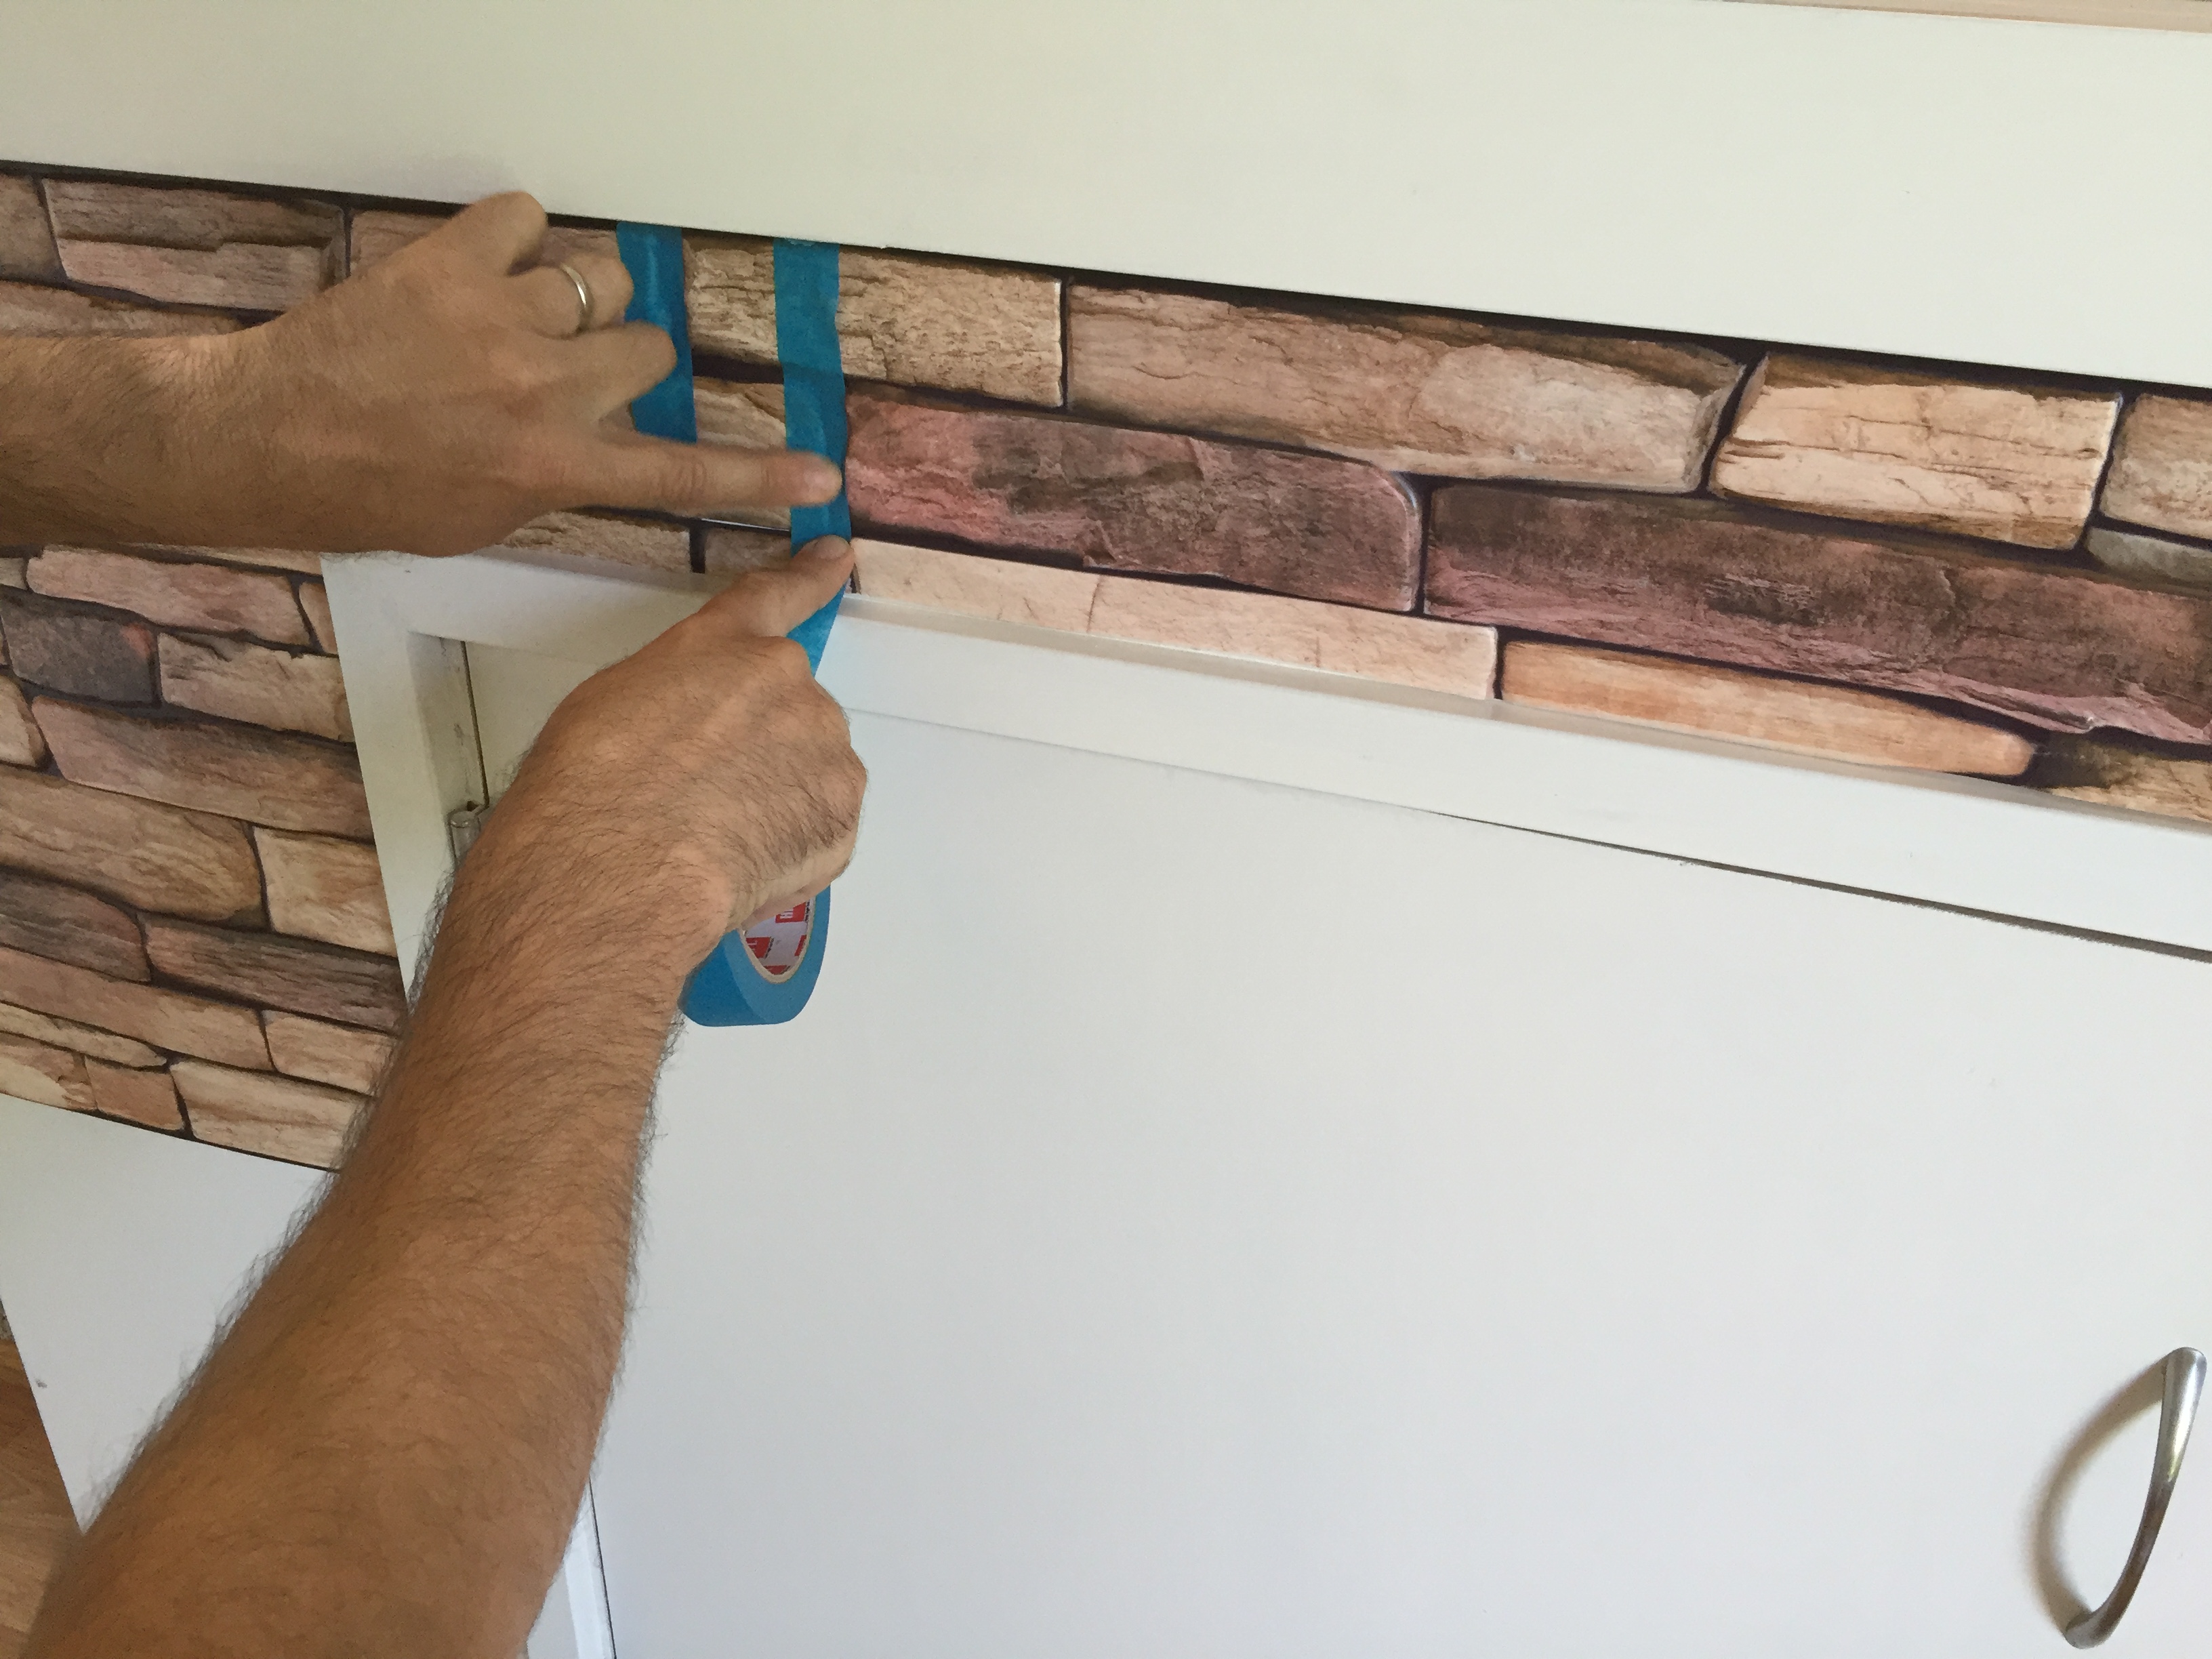
We recommend to use painters masking tape to hold panel in place and to secure connections between panels. After couple hours when glue set tape has to be carefully removed by pealing along panel and not pulling panel from the wall.
-
It is also possible to install panels without glue using clear double sided sticky tape.